Simple self-made corner absorbers.
Deutsche Version: https://mark-evertz.medium.com/diy-eckabsorber-bassfallen-bb85c7aa04c
Hopefully word has got around that egg cardboard cannot really acoustically nurture rooms. In particular, low frequencies tend to collect like dust flakes in the corners of the room and pile up to unpleasant wave crests (Room modes https://en.wikipedia.org/wiki/Room_modes).
As the last phase of my DIY project to build a soundproof booth (https://mark-evertz.medium.com/diy-acoustic-booth-english-version-bd6e91614318), room acoustics was a concern. I wanted to get a grip on those room modes that falsify the hearing impression and are therefore annoying (also known as standing waves) using corner absorbers (bass traps or bass straps).
My approach was less scientific than pragmatic. I saved acoustically measurements and calculations for the size, volume and material of optimal absorbers and only used residual materials from my studio construction project. I will check with a later acoustic measurement whether my take-what-is or better-than-nothing approach is successful.
The following article is recommended for those who deal with the topic in more detail:
https://www.bonedo.de/artikel/einzelansicht/raumakustik-workshop-no1-eckabsorber/2.html
Construction
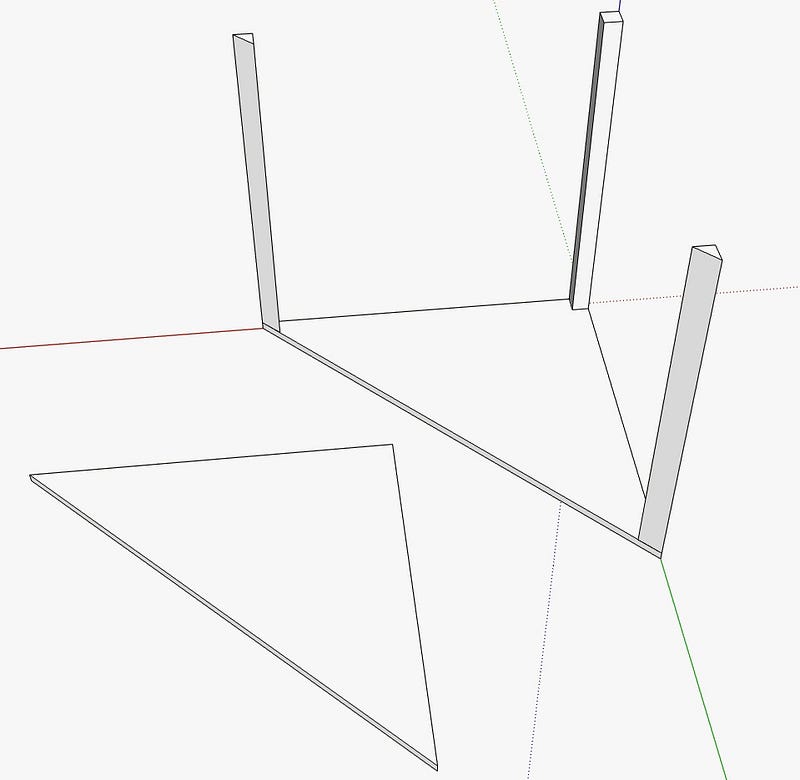
The basic construction consists of a 1cm square plywood board, which I sawed into two isosceles right triangles (25x25cm). 1cm thick square timbers are glued and screwed onto this (don’t forget to pre-drill). Halved squared timber (triangular base area), which you can get cut to size in the hardware store, fit into the acute angles.
Since my absorbers max. 75cm high, I didn’t need any cross braces for stiffening. I think it starts to get shaky from around 100cm.
Since the shape of the squared timber cannot be clearly seen in the photos, I made a small sketch with SketchUp (https://www.sketchup.com/).

Shell
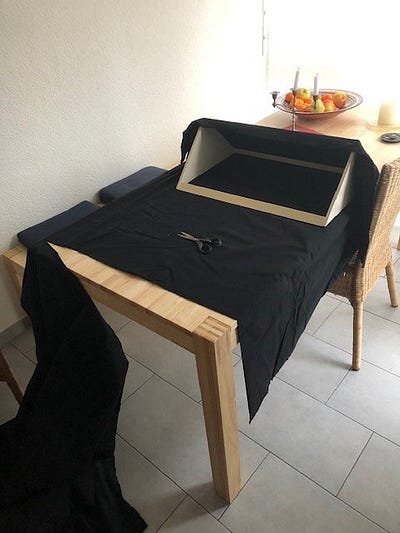
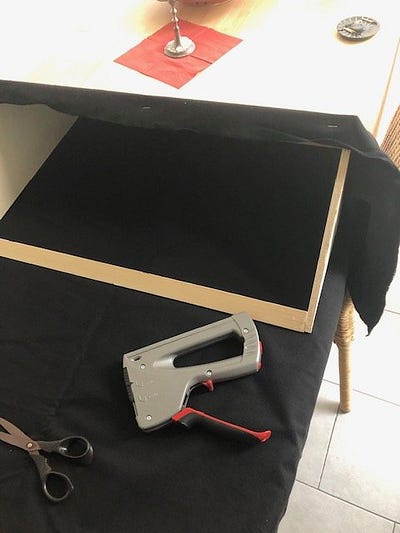
I covered the absorbers with thicker cotton fabric (Molton: weight: approx. 160 g /m), which I ordered by the meter here https://basteln-ch.buttinette.com/shop/a/baumwoll-flanell-schwarz-57929.
The fabric isn’t cut very precisely and stapled to the frame under tension. To make it a bit pretty, I only stapled the fabric on the short, back sides. No brackets can then be seen in front.

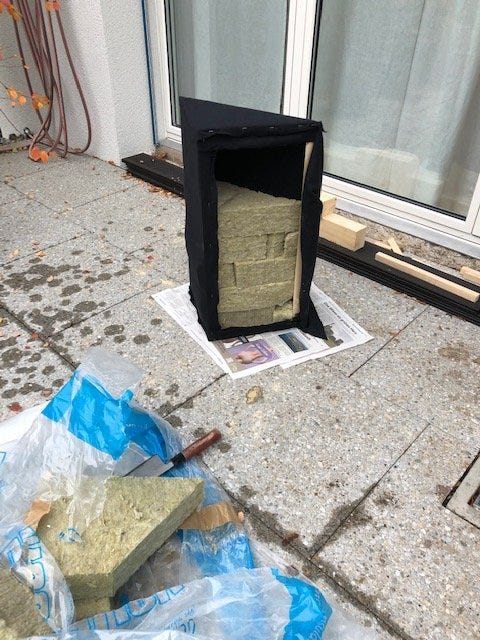
Filling
I used leftover mineral wool for the filling. Compared to other materials, mineral wool panels can be cut to size very easily.
Finished
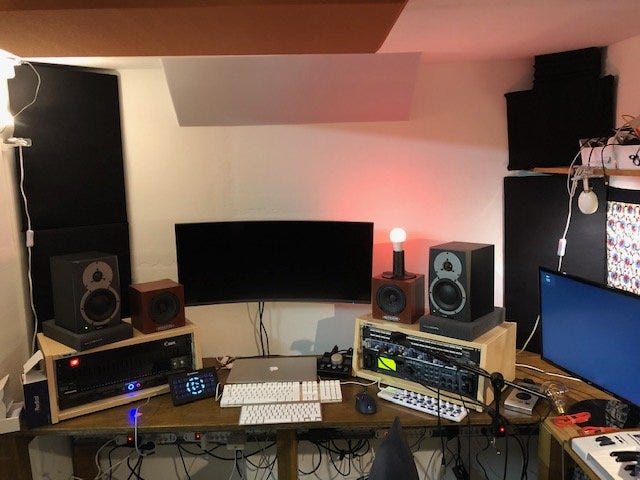
In this way, five absorbers found their way into the studio in no time at all. Four of them can be seen in the picture below (two each on the left and right in the corners). The fifth, somewhat larger corner absorber is in a corner of the room behind me (not in the picture).
Schreibe einen Kommentar
Du musst angemeldet sein, um einen Kommentar abzugeben.